UCU's Digital Banking
Access all of your UCU accounts conveniently and securely online!
Get Started
Click "Register" at the top of the page to register for Digital Banking.
Features include:
- Account Summaries
- Expense Analysis
- Funds Transfers
- eStatements
- Reports & Tracking
- Custom eAlerts
- Bill Pay
- Account Aggregation
- And More!
Mobile App
Download our mobile app today!
Apple Users - Download the app in the Apple App Store.
Android Users - Download the app in the Google Play Store.
Features & Functionality of Digital Banking
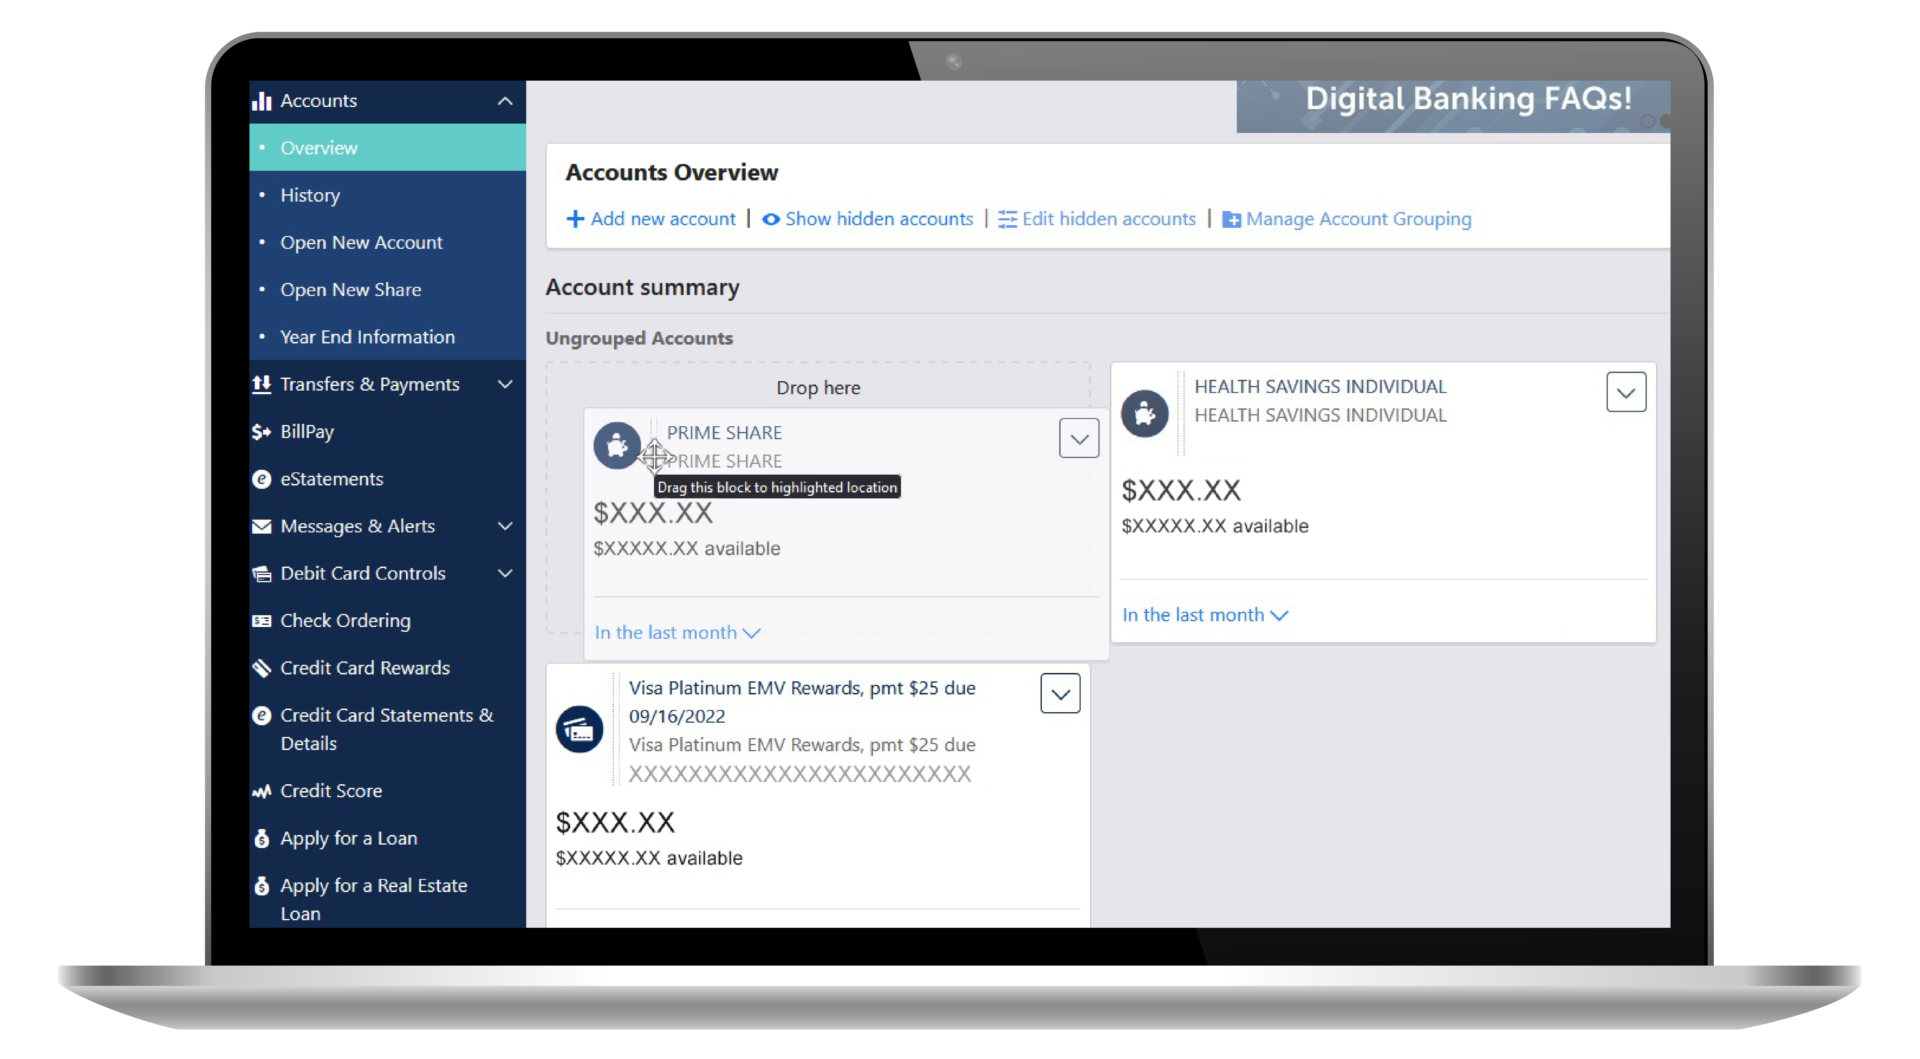
Move Account Tiles: The account tiles within online banking can be moved and organized based on your preference! Next to the account icon, there are two vertical lines that allow you to 'click and drag' the account tile into the new spot.
Hide Accounts on Overview: If there are certain accounts you wish to hide from your homepage, you can click 'edit hidden accounts,' select which accounts or loans you wish to hide from the overview and save.
Manage Account Grouping: Managing account groups can be done by adding a new account group. With multiple account groups you can use the same click and drag to put them in the order you wish to see.
NOTE: You can expand groups on the mobile app with the +/- sign next to the "Accounts" header after login. This will display groups as well as show hidden accounts.
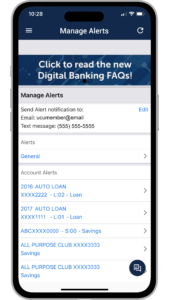
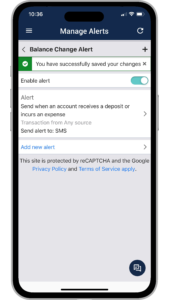
Set up and manage custom alerts for your accounts in a few easy steps!
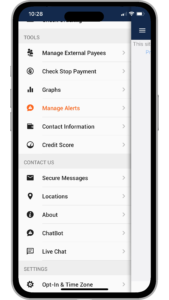
Step 1: Go to Manage Alerts in the main menu.
Step 2: Click on the account that you want to create alerts for, such as a checking account or auto loan.
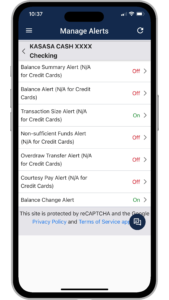
Step 3: Click on the type of alert you'd like to set up.
Step 4: Now you can customize your alert preferences and choose how you'd like to be alerted, such as by email or text message.
Step 5: Enable the alert by making sure the slider toggle is highlighted teal, representing the alert is "on" .
You're done! You have just created a custom new alert. If want to check to see if any alerts are either on or off, you can go back into Manage Alerts and select the respective account. Your alerts should show as either on (green) or off (red).
Alerts are a useful tool that can help keep you organized and notified about your account. You can create alerts for balance changes, low balances, transaction size, non-sufficient funds, logins and password changes, and more!
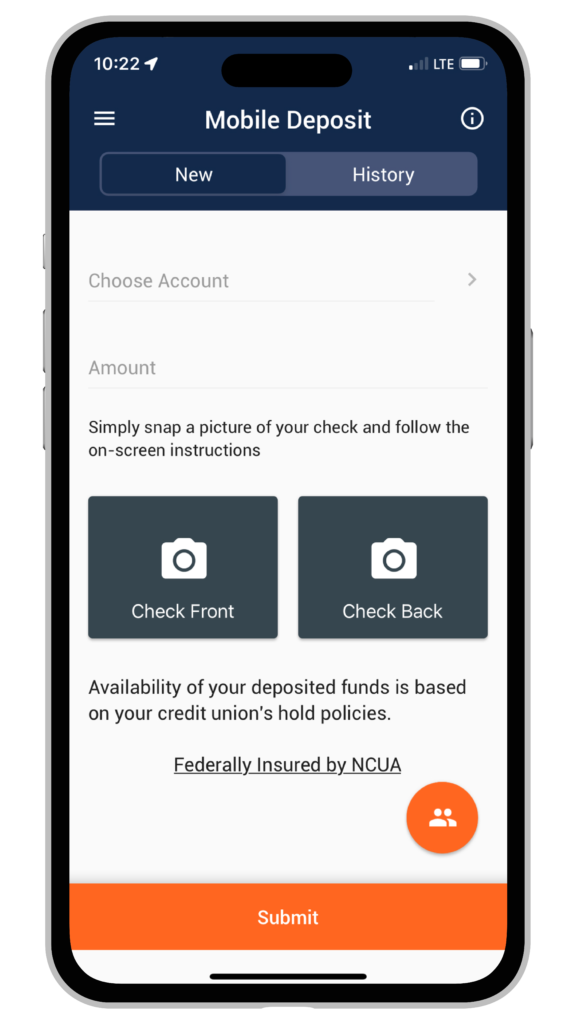
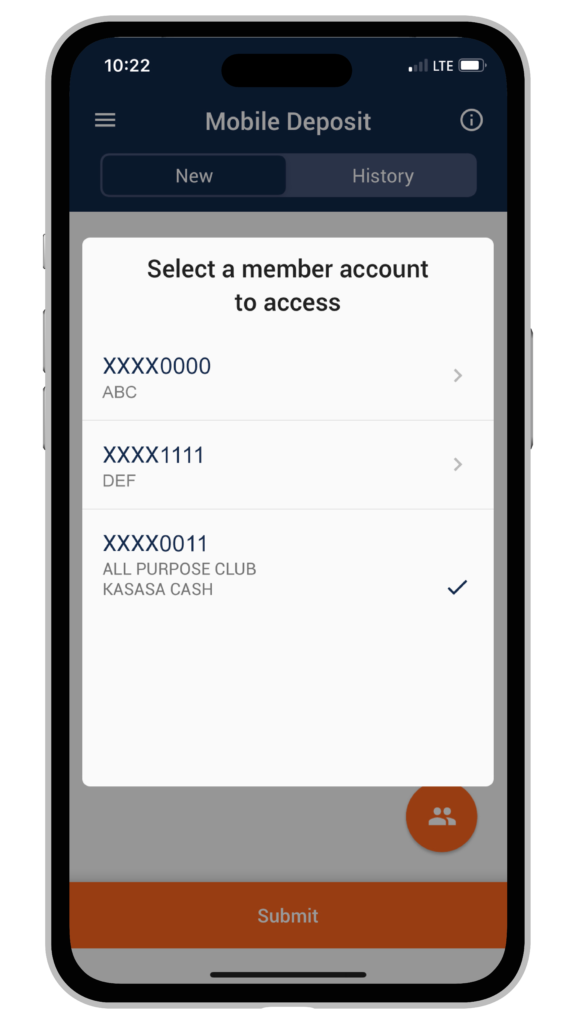
Take your pick! You can now pick and choose which of your accounts you would like your mobile deposit to go into. Using the mobile app, click on the orange circle at the bottom of the page to toggle between accounts.
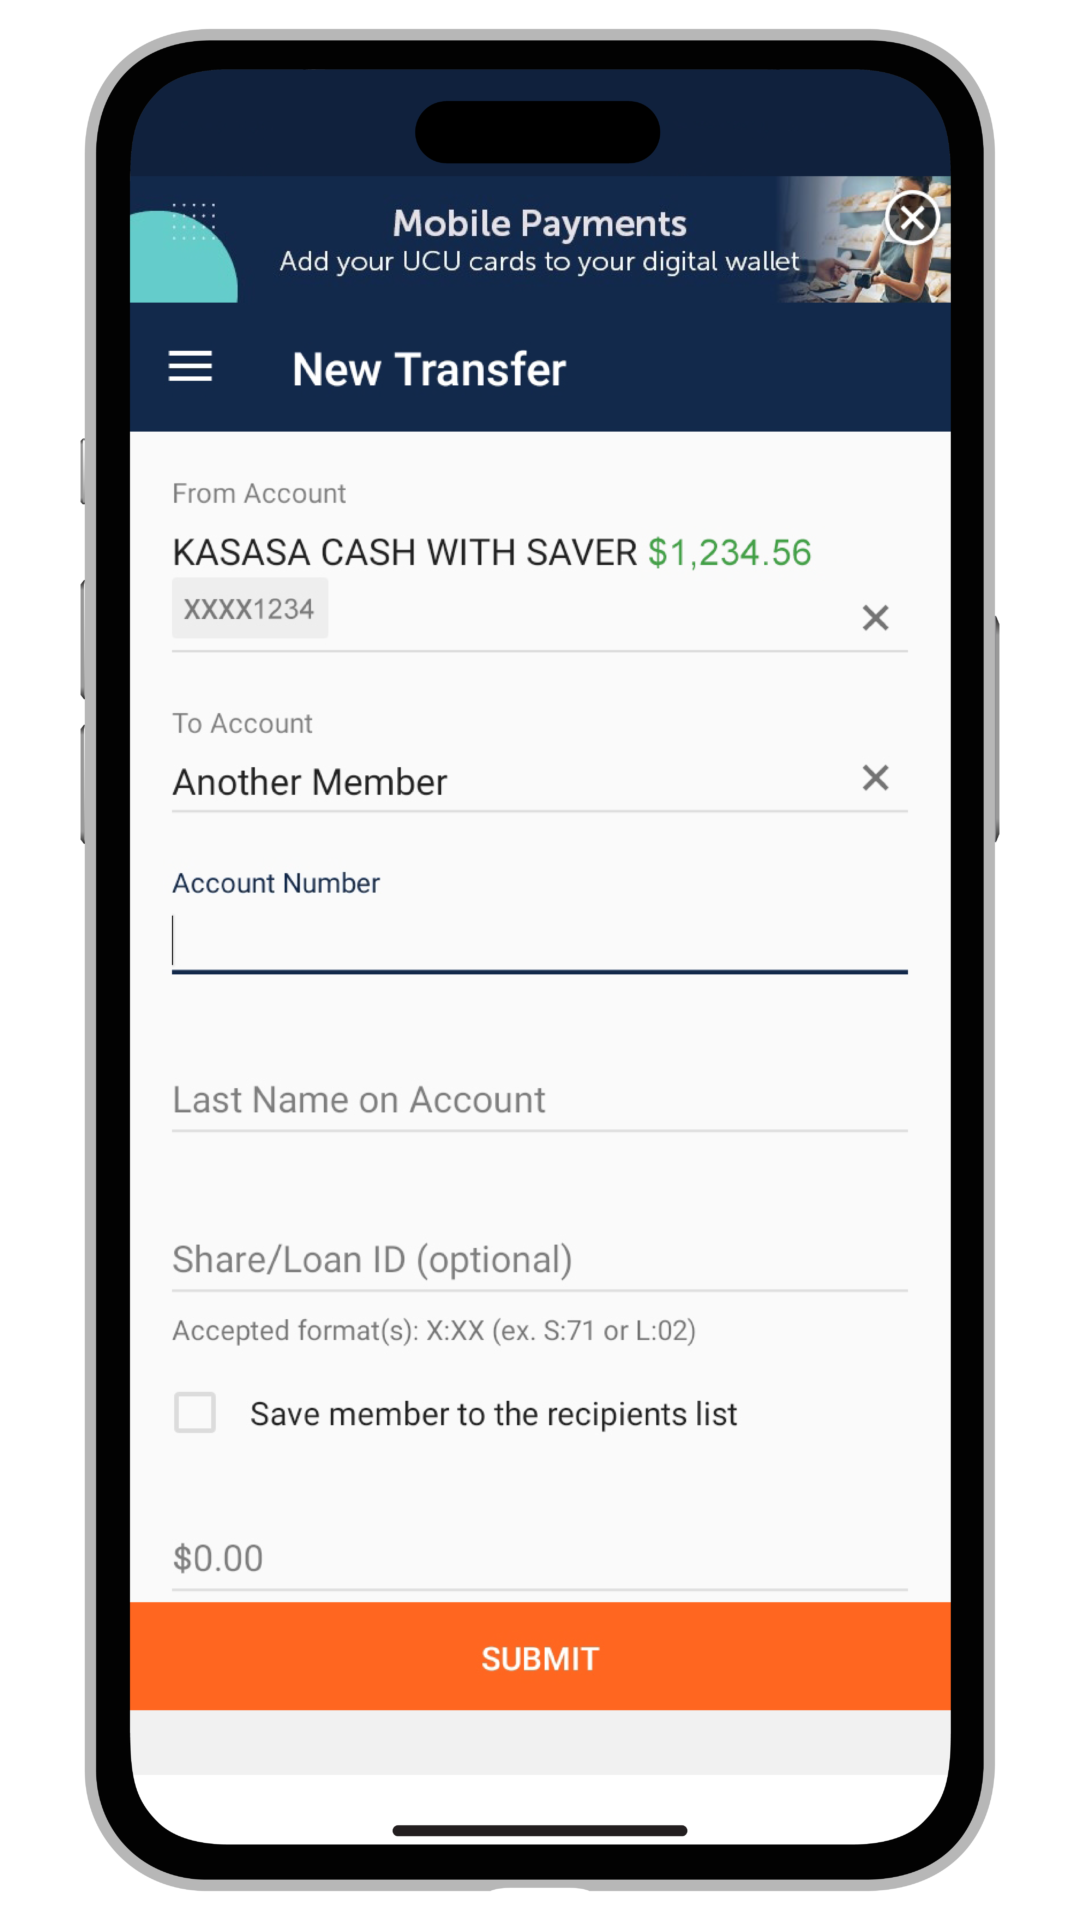
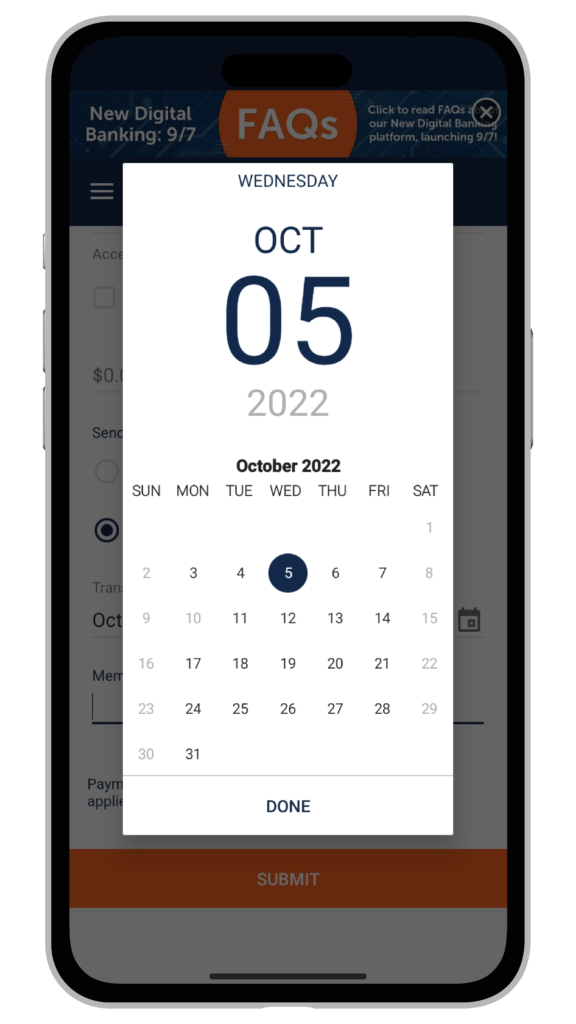
Easily transfer money to another UCU member using the Transfer tab. You can make an instant transfer or schedule it for later. Even add a memo for reference! To complete a member to member transfer you'll need:
- Account Number
- Last Name on Account
- If using, specific share / loan ID
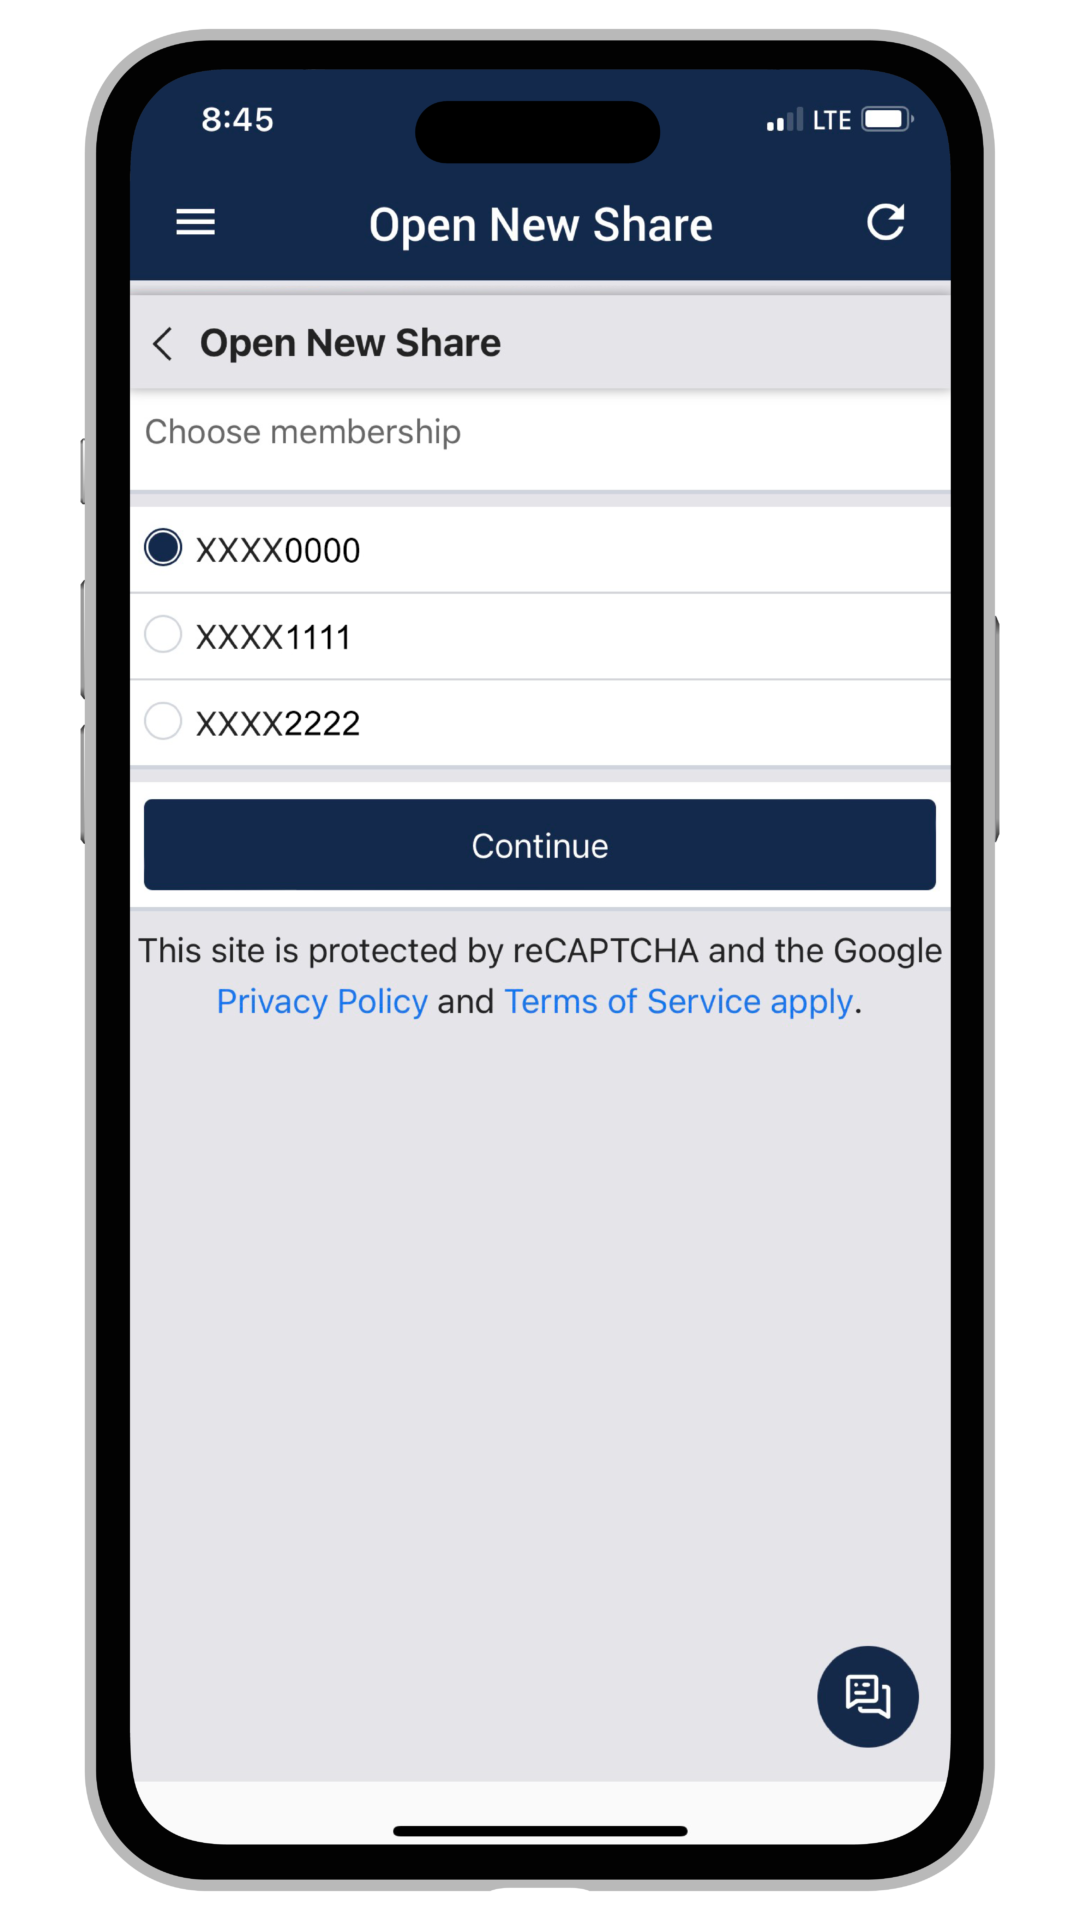
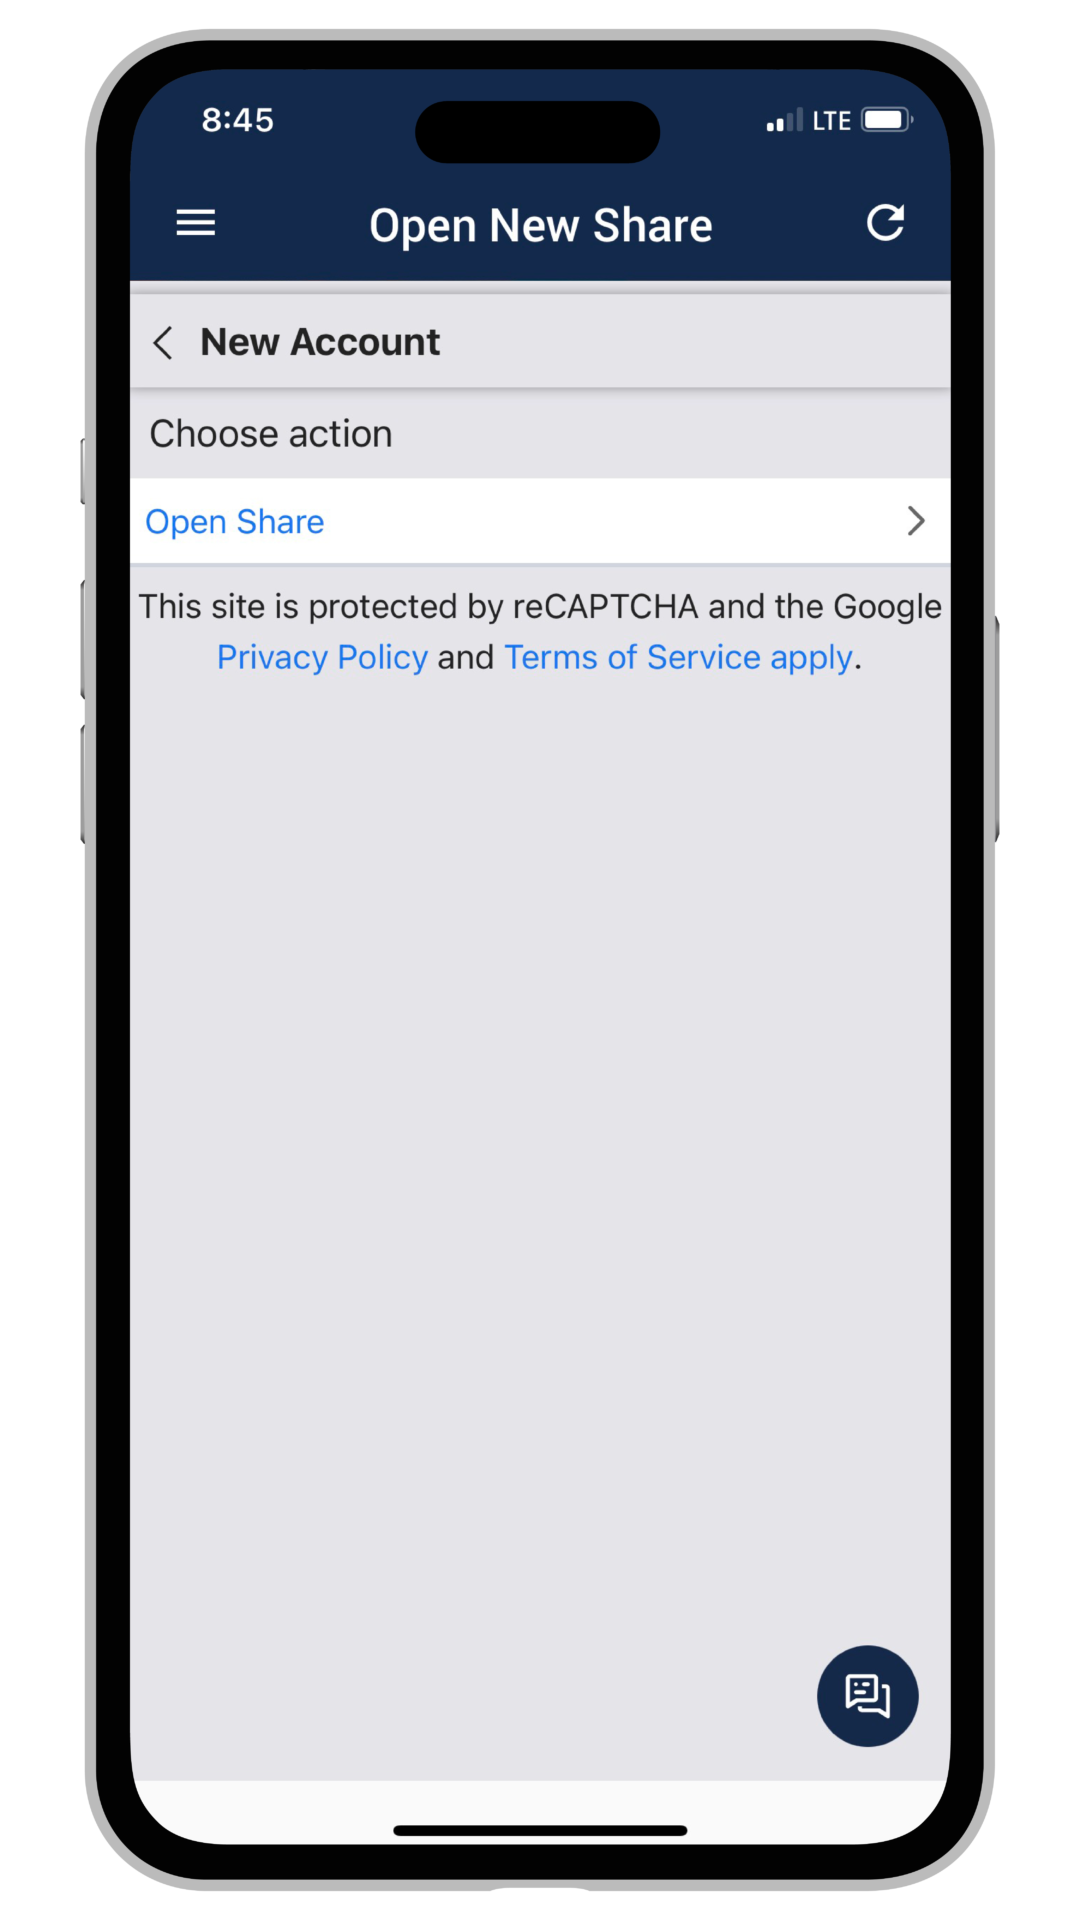
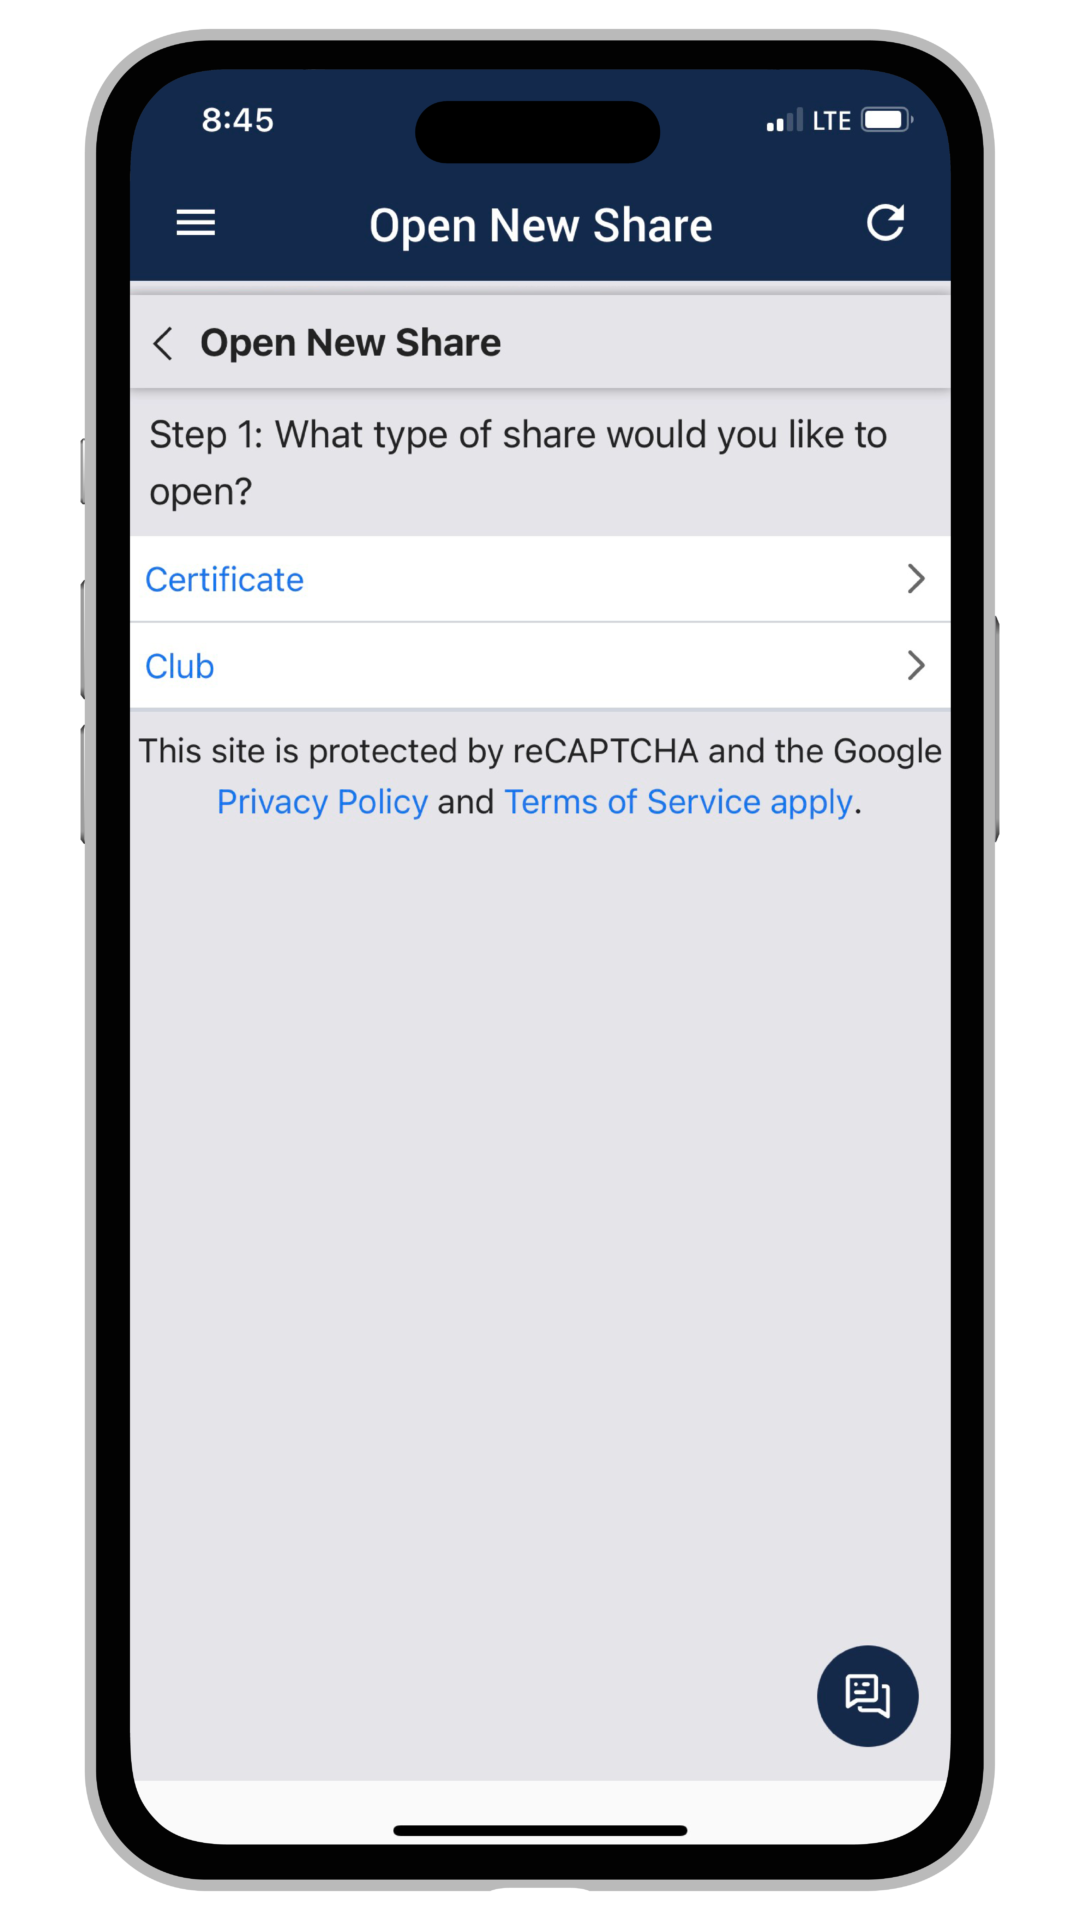
Have you been trying to find a better way to organize your money? Well you can now categorize your funds at UCU by opening club accounts and naming them whatever you would like! You can also open share certificates! Start with the Open New Share tab.
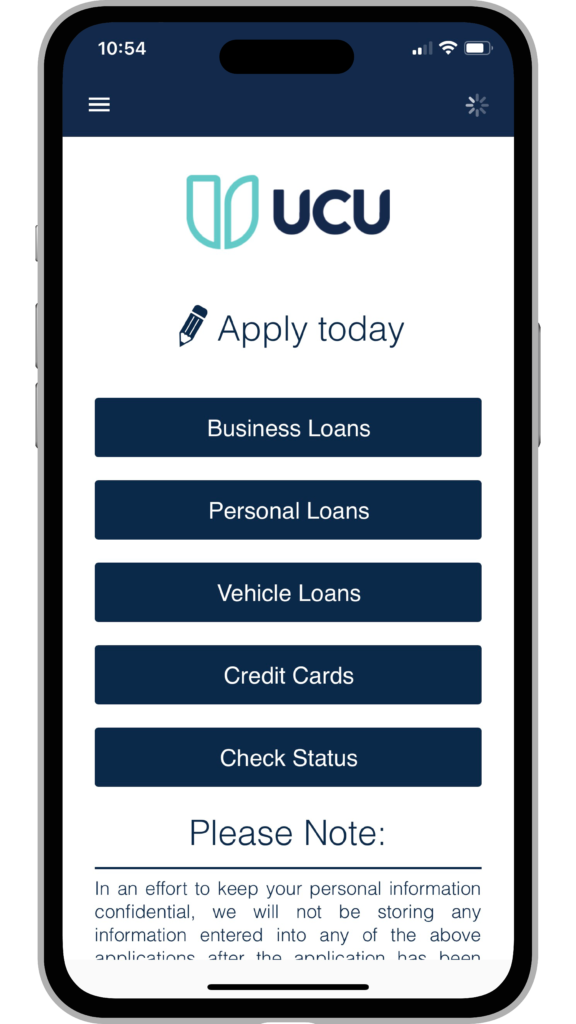
Apply for a new loan within Digital Banking! On the menu, select "apply for a loan" or "apply for a real estate loan" to get started. From here, you'll connect with one of our UCU consumer loan or mortgage loan originators for next steps.
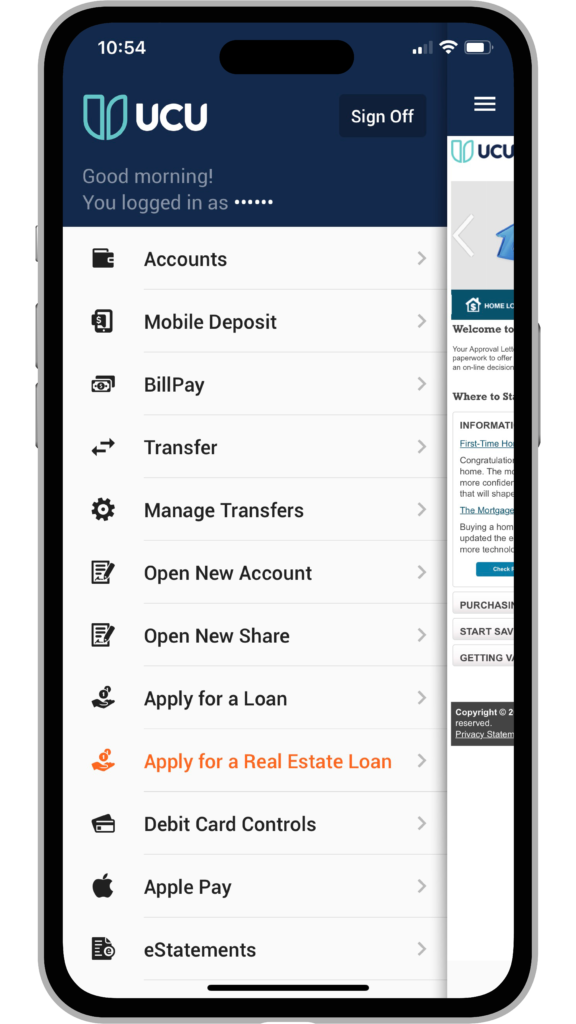
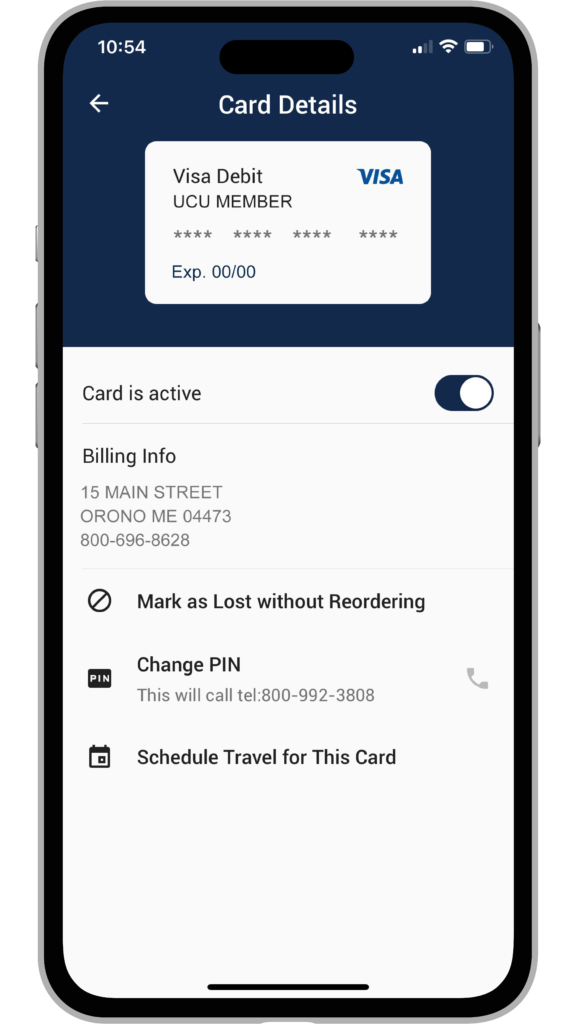
If you misplace your debit card, you can take quick action to make it inactive right from Digital Banking. Yes - either online or in the mobile app!
Use the toggle button to make your card inactive; if you find it just switch back. If it is lost, you can mark it as so.
Traveling? This is also the area where you can schedule and notify us of upcoming use during travel.
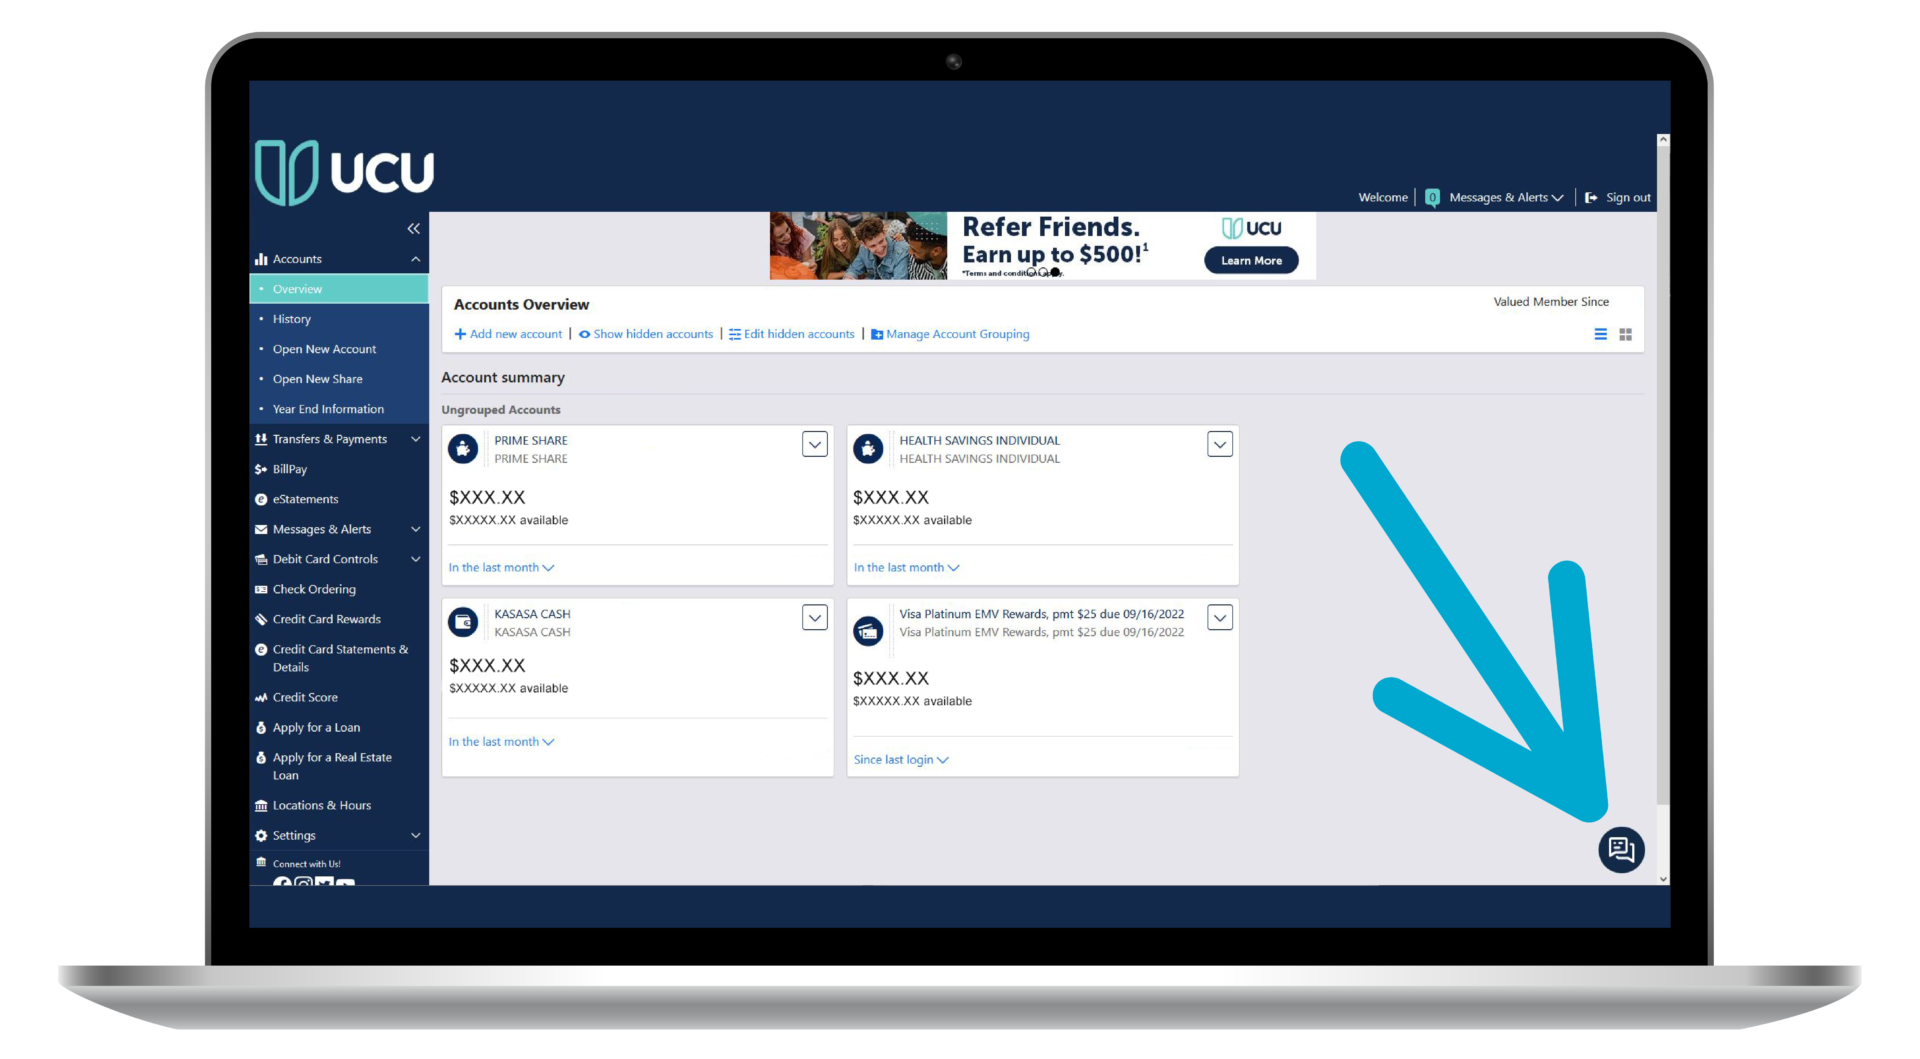
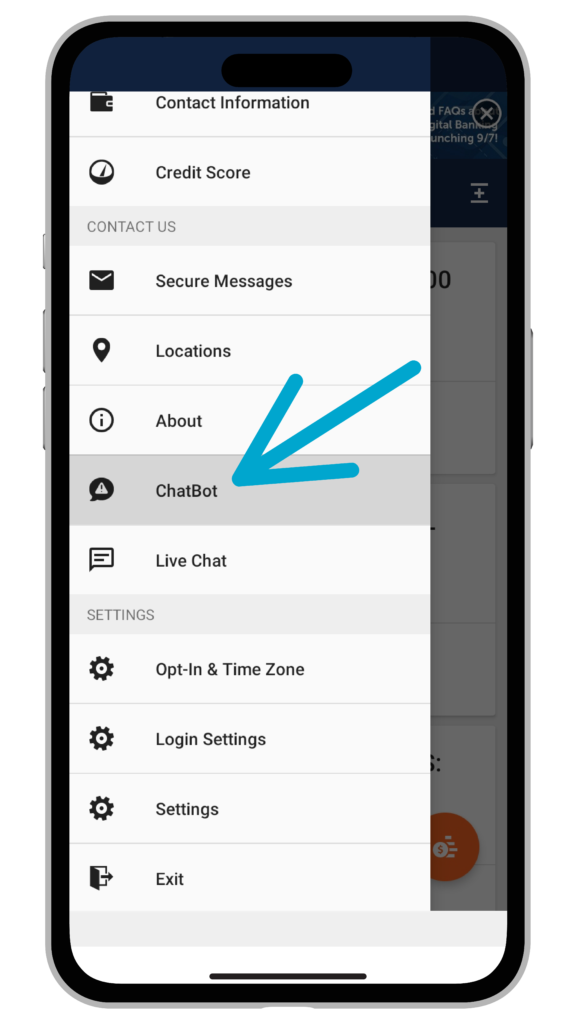
We are always just a chat away! Utilize our ChatBot on both mobile and desktop to have your questions answered quickly. The ChatBot can answer a wide range of questions, so ask away!
The ChatBot icon can be found in the bottom right corner on the UCU website and Online Banking, or within the Mobile App menu. If using a desktop computer, after clicking on the corner icon, click "24 hours assistant" to access the ChatBot.
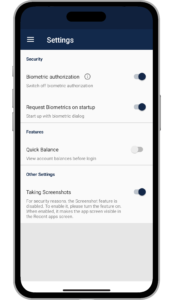
You can use Biometric Authorization with your mobile device, either fingerprint or Face ID, to log into your accounts on the Mobile App and Online Banking. Simply go to Settings in the main menu of the Mobile App, and enable "Biometric Authorization".
Once enabled, just tap the orange circle on the login screen that looks like a fingerprint next time you log into the Mobile App. The app will then prompt you to verify either your fingerprint or Face ID. Once verified, you're in! Using biometrics makes logging into your account quick and secure.
Quick Log In on your desktop computer is an awesome new feature that let's you use your biometrics to quickly log into your Online Banking account on your desktop computer. Once you have Biometric Authorization set up in the Mobile App, just click Quick Log In at the top of our website on your desktop computer. Keep your mobile device close by because it will prompt you to verify your biometrics. Once you've scanned your fingerprint or Face ID, you will be logged into your Online Banking on your computer! This saves you a few steps of entering your password and security questions.
Note: Biometrics will only work with devices that use that technology. Also, If you have never used the biometrics technology on your device, such as fingerprint or face scanner/Face ID on your mobile device, you will need to set that up in your device's security settings first.
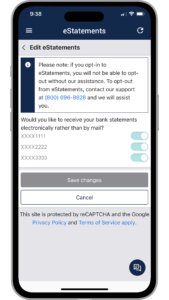
eStatements are a great way to save both time and paper! You can access them instantly through Digital Banking. To enroll in eStatements, go to Additional Services on the desktop version, or Opt-In & Time Zone on the mobile app, click on eStatements, and toggle the switch to on for all the accounts you would like to receive an eStatement for and click save changes.
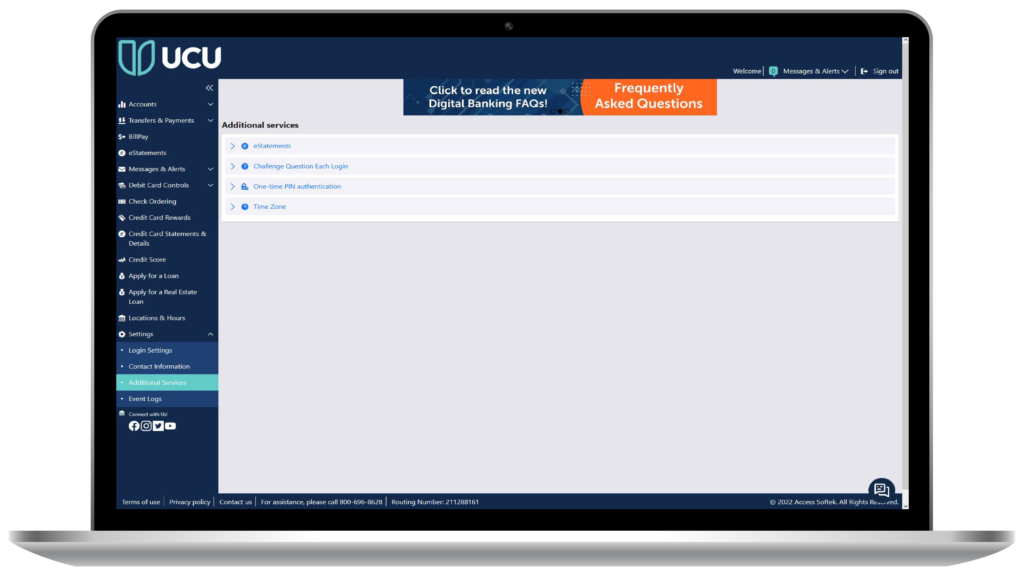
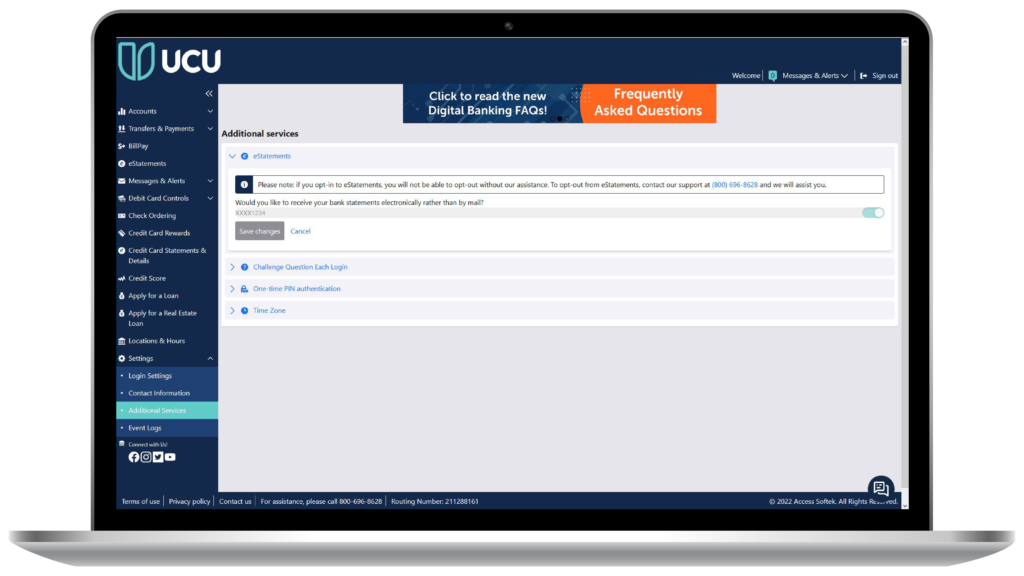
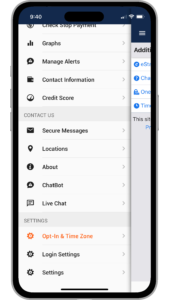
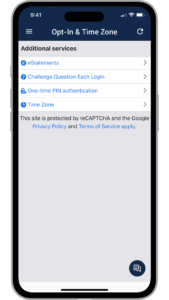
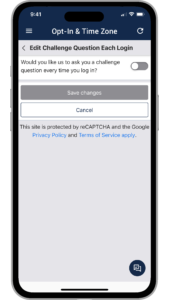
Looking to add an extra level of security when it comes to logging in to your Digital Banking? To begin receiving a challenge question for each login, log in to Digital Banking, go to Additional Services on desktop, or Opt-In & Time Zone on the mobile app, click on Challenge Question Each Login, toggle the switch to 'on' and click save changes.


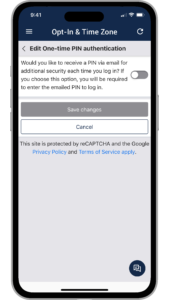
To add another level of protection to your Digital Banking login, you can choose to receive a one-time pin to your email every time you log in. To enable One-time Pin authentication, log in to digital banking, go to Additional Services on desktop, or Opt-In & Time Zone on the mobile app, click on One-time Pin authentication, toggle the switch to 'on' and click save changes.
This differs from the pin authentication when verifying use on a new device.


Digital Banking features the option for members to enroll and use SavvyMoney to keep track and learn more about their credit score. Check out this video to learn more!
Online Privacy Policy
The UCU Online Privacy Policy can be found on our website by visiting this page.


